Wednesday, February 25, 2015

Gotta Catch them All!

Brandon needed a couple of Thank You notes
to send for some gifts he received.
 
He wanted to use Pikachu from Pokémon.
 
I found this (free!) SVG on Pinterest and cut it using my
Cricut Explore


The 'Thank You' at the bottom is from Stampin Up! Teeny Tiny Wishes stamp set, stamped in yellow momento ink.
I used my ticket stub corner chomper from WRMK on the white mat in the background, and some
silver enamel dots from Michaels.


Thanks for stopping by!
 
 
<3
Kathleen


Tuesday, February 24, 2015

It's Me, Mario!

After I made 3 of those difficult Luigi birthday cards,
I really wanted some Mario cards too.
 
I found a Mario SVG and set out to make 3 cards with him.
 
Luckily, I made him decent in size so the pieces weren't too small.
 
Here's what I came up with:
 
 
I really like the glitter background paper, I feel like it
gives it a gamey vibe.


I added some enamel dots, and kept it simple.
 
The inside is stamped with "happy birthday"
 
 
That's all for today!
 
Come back tomorrow if you're a fan of Pokémon!


<3
Kathleen


Monday, February 23, 2015

Lotus Blossom

I used the new Stampin Up! Lotus Blossom set this past weekend
to make a few thank you cards to have on hand.
 
Its a 2 step stamp, and I was quite frustrated with the process, haha!
 
I went to my trusty friend, YouTube, to figure out what I was doing wrong.
 
I finally figured it out, and the results are wonderful!
 

I really intended to write down the color inks I used, but I quickly forgot over the laughter of the retreat! (I blame Aunt Billie Jo and Dawn!)
 
Here's a few more pictures of this. I made four total.


I have a few more posts with projects I made from my retreat.
 
I'm sad to say that I've been back a week and STILL haven't unpacked my stuff!
 
Hopefully, I'll get down there and crafting some fun spring stuff!


Until next time!


Kathleen <3


Sunday, February 22, 2015

Minions!

I just LOVE minions!
 
Since Ive been getting to know my new Explore, Ive been learning about SVG's and alllll of that.
I wanted to find a cute and easy minion to cut.
I hit the minion lottery with these cuts! Not only were they the easiest SVGs Ive ever used, they were by far the cutest minions I could find!

aren't they darling?!
 
I found them here.
 
I made them bigger than I originally planned, so I was able to make 3 separate cards


These cards just might be my favorite from the weekend away.....


Thanks for stopping by!


Kathleen <3


Saturday, February 21, 2015

A Snowman in Summer!

Ever since I made the Olaf thank you notes, I wanted to make more cards with him.
 
While I was cutting him out (well, the Explore was...) I just keep hearing the song he sings about being as happy as can be in SUMMERRRR!
 
Then it hit me! A snowman in summer birthday card!
 
 
While the Explore was busy with Olaf and his teeny tiny arms, I used my E2 to cut the sun, clouds, and grass.
 
I found some papers in an old mat stack that were springy/summery and I made 3 green and 3 pinks.


Who doesn't love Olaf?!
 
 
Thanks for stopping by and taking a look!


Kathleen


Friday, February 20, 2015

Welcome, Baby!

I was actually inspired to make a baby card when I received a text that one of my coworkers welcomed her grandson on Valentines day! How awesome is that?!
 
I found the cutest little (easy, too!) stork in the Cricut Design Space library.
 
I decided on navy, white, and red- totally doesn't scream baby, but it worked!


The red stitched circle also came from the library. I popped the stork up using foam tape and added some berry jubilee twine from Trendy Twine.
 
The word window and modern label punch with 'congratulations' finished it up!
 
Welcome to the world, sweet little Roland!


Until tomorrow,
 
Kathleen


Thursday, February 19, 2015

Happy Birthday to You!

This past weekend, I packed up my craft stuff and headed to Howell to be with my aunt and scrapping friends for a weekend retreat. And what a fun time we had! We laughed, we ate, we talked, we laughed some more (especially about watching movies!) and we did some crafting too!
 
In previous years and previous weekends away, I made over 100 cards.
 
I don't have that to report this year.... (see above paragraph about talking...)
 
But I did manage to make 50 cards from Friday to Sunday afternoon.
 
I also got very acquainted with my Cricut Explore, so the weekend was not wasted!
 
The first card I made was with a Luigi SVG I found.
 
Man-oh-man! While I am thrilled with the end result, he was an absolute nightmare to put together! I cut him four times, in hopes of making four cards.
 
I kept dropping the tiny pieces and somehow only had enough parts left to make 3 of him, or 3 cards.
 
I only have on pic to share, I was over him when the card was done! Hahaha!


I did add some enamel dots to finish the card.
 
The twine is from Trendy Twine and paper was in my stash!
 
Be sure to come back, I've got even more to show you!


Kathleen


Wednesday, February 18, 2015

Wood You Be Mine?

I can finally share the valentines I made for my  husband and sons!
 
For my Husband, I made a 4x7 card using a new stamp from
Stampin Up!
 
 
I used CTMH Artbooking Cricut cartridge for the heart overlay on the base of the card, cut in red.
Then I took a doily I found in my stash and sprayed it with glimmer mist and inked the edges
Trendy Twine was the perfect finish to my doily.
 
I stamped my lumber jack on kraft cardstock and then double stamped him on pink. Then I fussy cut just the shirt out to place on him. It gives a nice and festive pop of color.
 
He seemed kind of drab to me, so I added glossy accents to his beard and ax. Here's a few more pics of this card


After I finished this card, I made 2 cute and very simple cards for my sons.
 
I decided a 4x4 card would be perfect and found a cute little alligator stamp with a heart on it
Here's what I ended up with


They seemed to enjoy them! (as much as little boys do, anyways!)
 
The inside was equally as simple. I just stamped it with a be mine stamp from the $1.50 bin at Michaels. Naturally, the back of theirs has a different stamp on it.....


That's all for today!
 
Be sure to stop back by tomorrow- I'll be sharing more cards from my weekend retreat!


<3
 
Kathleen


Tuesday, February 17, 2015

Yoda Only One For Me!

My brother requested a special Valentine
for a special girl!
 
He found something on the Internet that he wanted me to recreate!
 
I didn't think it would be too bad. Boy was I wrong!
 
Try finding a Yoda SVG after blog hops are over and file sharing is not allowed!
 
I found a silhouette on etsy that I bought and what do you know, it wasn't compatible
with the software in my Explore.
 
So I turned to clip art!
 
 
Ta-da!
 
I used Jaded Blossom card mat dies and sweet stamp shop stamps to
spell out 'Yoda only one for me'
 
Rumor has it she loved the card! ;-)
 
I have quite a few blog posts scheduled for the rest of this week and next, so be sure to stop back by!


Kathleen


Friday, February 6, 2015

Happy Birthday, Donnie!

My Father-in-law's birthday is a few days after Brandon's, February 13th.
(that's why Brandon has grandpa's middle name!)
He loves getting my homemade cards- so much, that one time I threatened to send him a store bought one and the look on his face was priceless!
We don't usually see him on his birthday, so I am always sure to get it in the mail so its there by his Birthday.
 
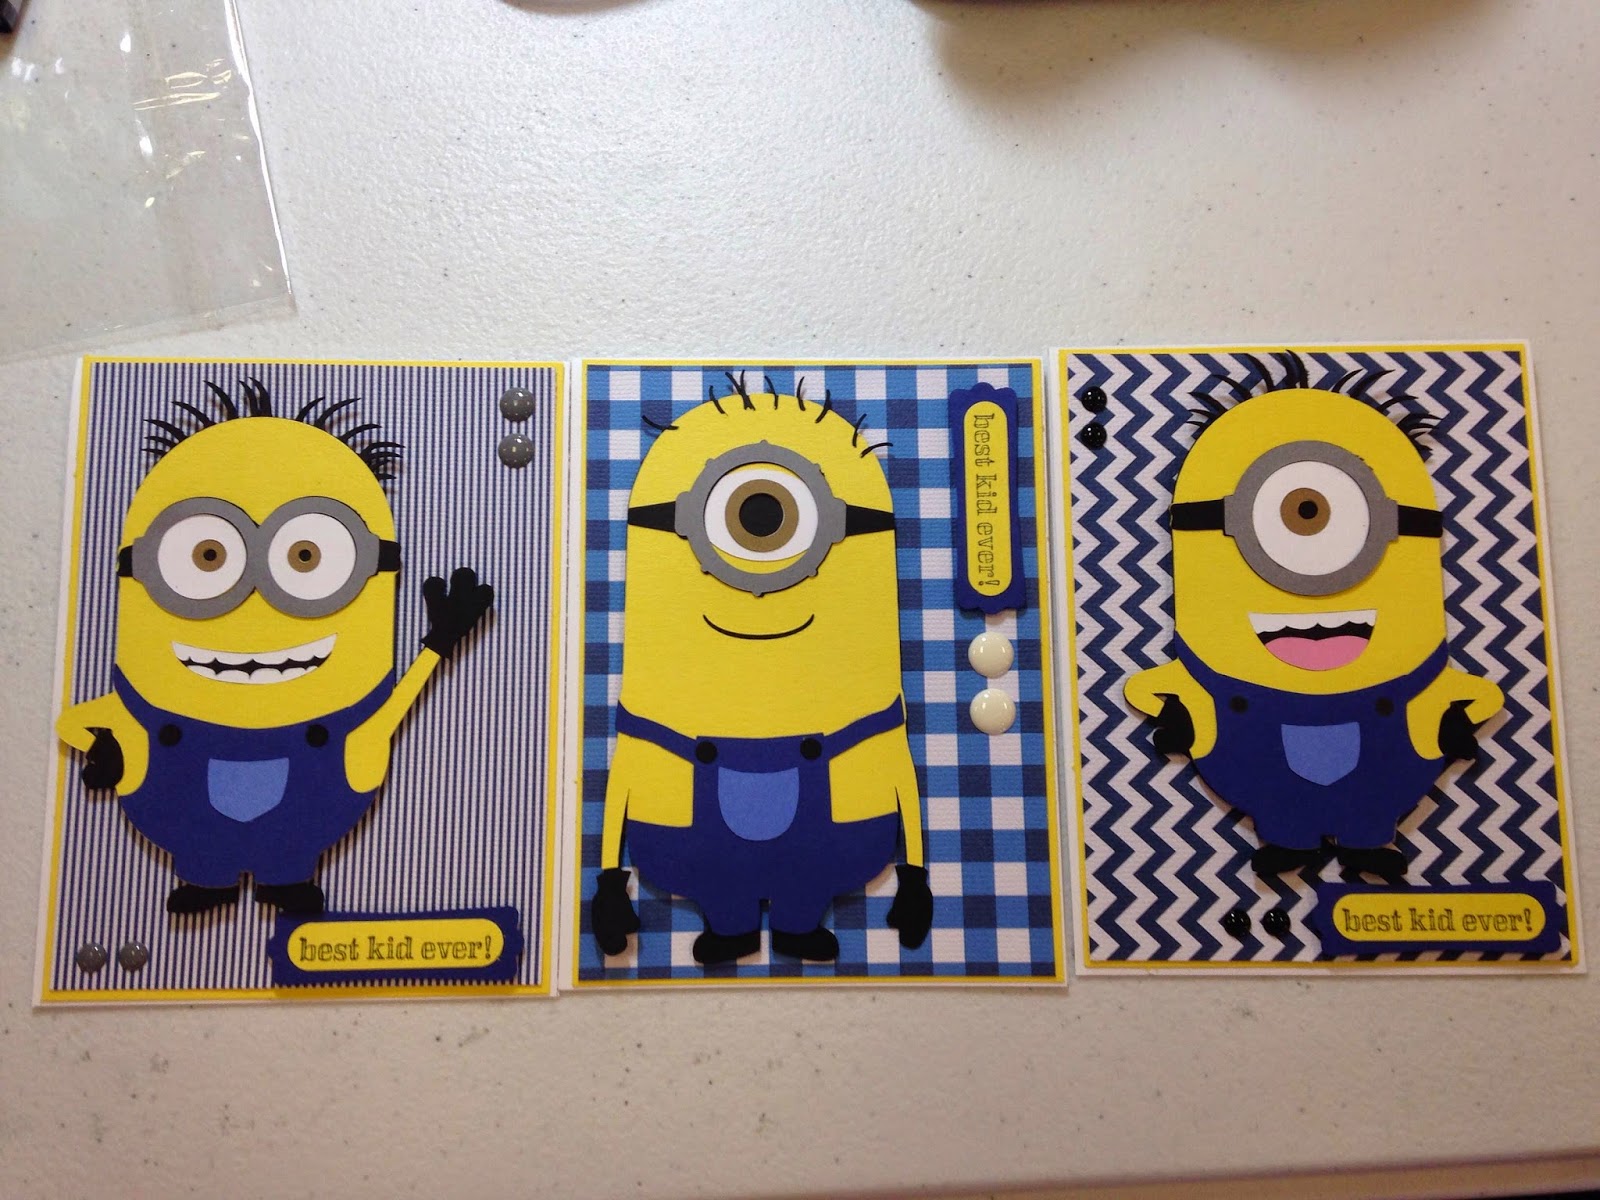
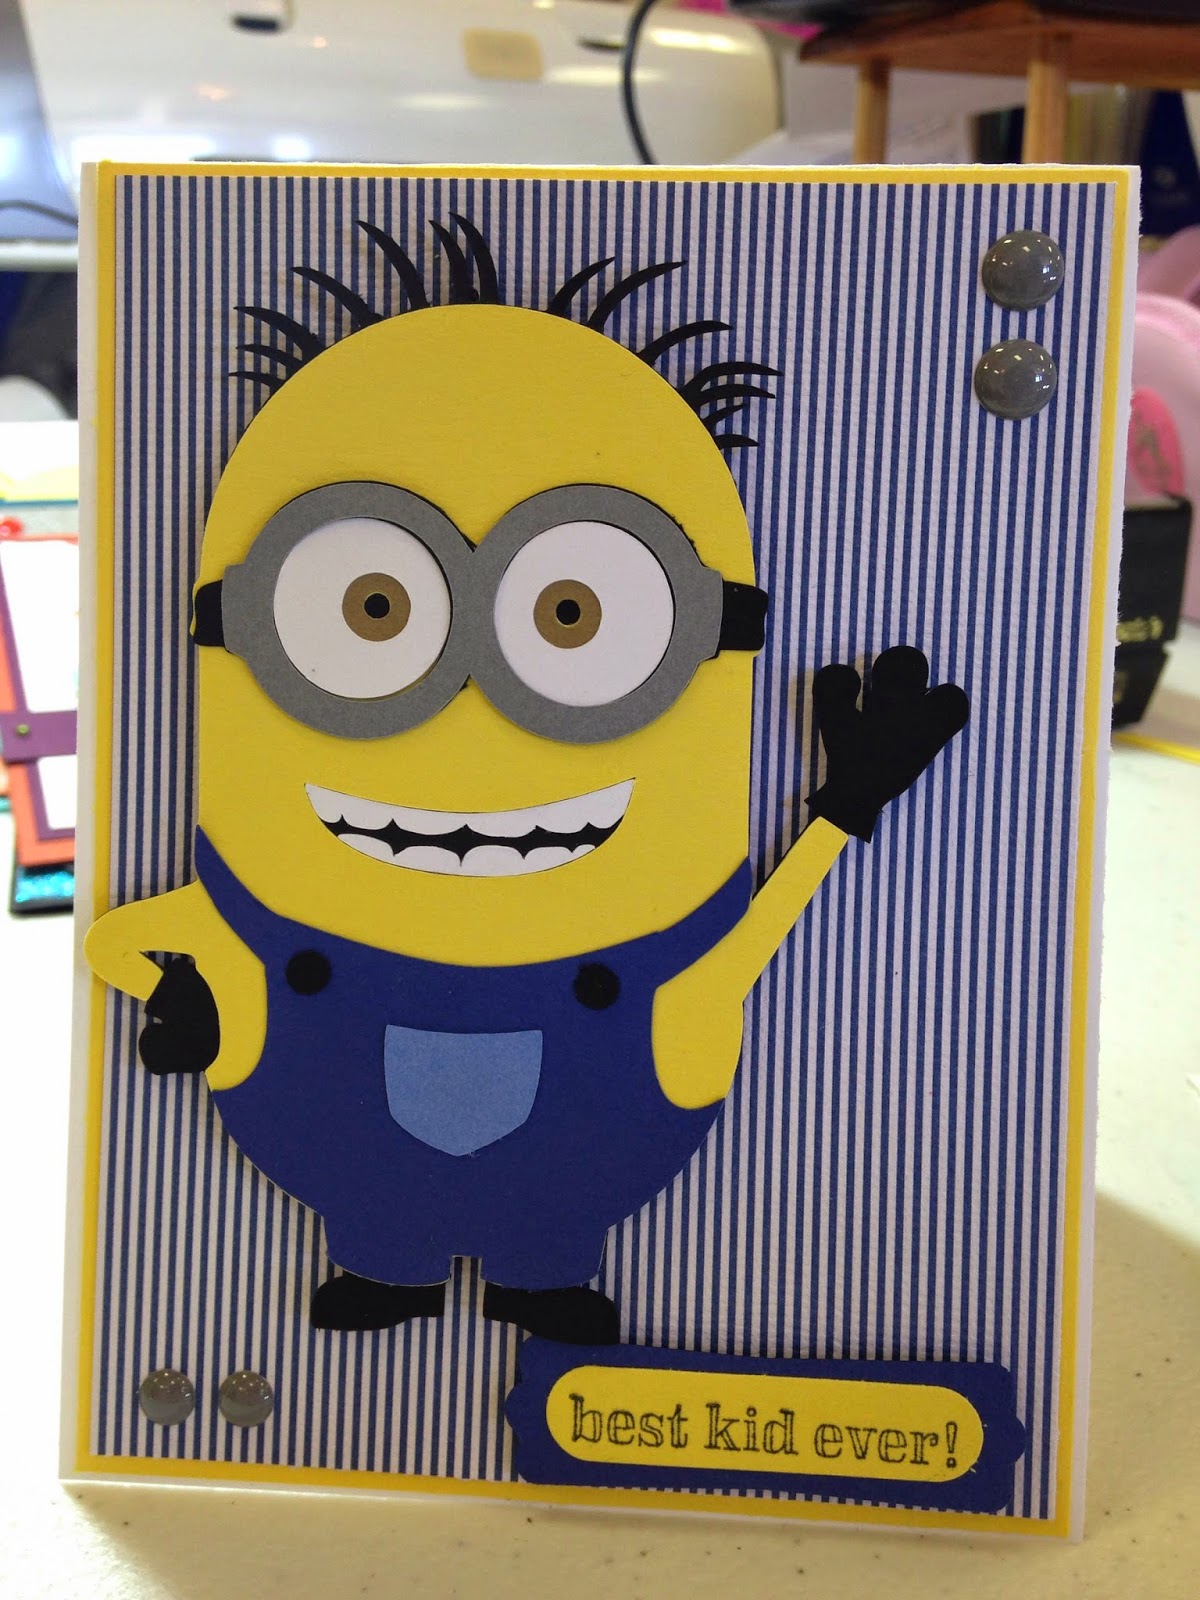
Ive been playing around with my Cricut Explore a lot lately, and trying new things here and there.
I knew he would love a pop up card so I made one of the ones in CTMH artfully sent cartridge.
 
 
From the front, it just looks like a regular birthday card- but once you open it up....
 
 
Boom! Those cupcakes just kind of jump out at you!
 
The part hat on the front of the card wobbles with the help of an Action Wobble, of course!
 
Heres a few more pics, theres a lot so you can get all the different views!
 
wobbling away!


I'm quite sure he will love it, and if he doesn't- I'll buy him one next year, haha!


Paper is from DCWV, Birthday Stack
Cardstock is Recollections
Twine is from Trendy Twine
Action Wobbles
and Cricut cartridge was CTMH Artfully Sent
 
 
Thanks for taking  looksee!


Kathleen


Thursday, February 5, 2015

Batman Valentines for my little Valentine

Since I showed off Brandon's Valentines and entered them into a Challenge over at Jaded Blossom, I figured I should share Nathan's Valentines too. (I made these first)
 
He is a total BOY and loves, and I mean LOVES, super hero anything.
 
Batman is his favorite, I'd say.
 
He chose Batman to pass out to his classmates.
 
I used JadedBlossom lollipop die and card mat dies for the black holder and yellow mat.
 
Using my Cricut E2, I cut the batman symbol out using Recollections black cardstock.
 
I wanted SOMETHING to make it seem more valentiney (yes, I know that's not a word), so Nathan allowed me to add a tiny heart jewel on the batman symbol.
 
Heres how they turned out!
 
Pretty cool, huh?!
 
The twine is from Trendy Twine and the stamp is Jaded Blossom.
 
Here's  few more pics

 
We made 27 total, and he has been working hard to sign "Nathan K." on the back of each one.
 
:-)
 
Has anyone noticed the number of blog posts this week?! Hahaha! Lets cross our fingers and hope it continues!
 
 
Until next time!
 
 
Kathleen